

Okay, here it is, my rainmeter tutorial. After my Facebook photo
https://www.facebook.com/photo.php?fbid=353252344817602&set=a.353252304817606.1073741837.100003985195807&type=1&theater¬if_t=like
and Aditya Nayak's
https://www.facebook.com/photo.php?fbid=563789170378761&set=a.133419096749106.29984.100002430504270&type=1&theater¬if_t=like
generated quite some liking, I've decided to teach everyone how they can customize their desktop using rainmeter. But first, there's a little tweaking you'll have to do. It can be done manually which is quite tough, so just do it using the 'Theme Resource Changer'.
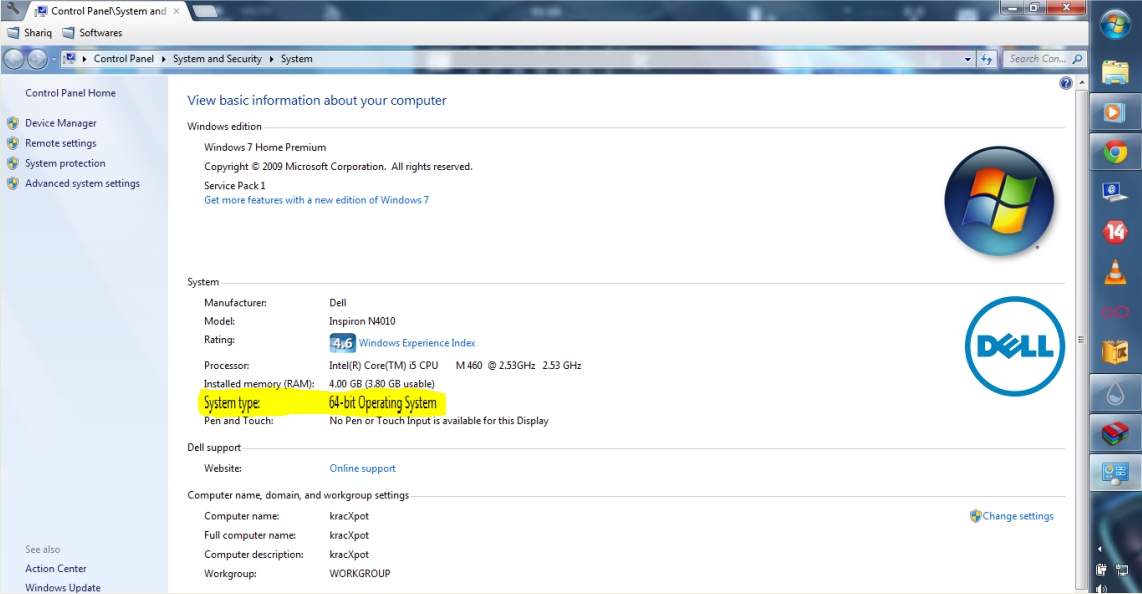
So once you know which architecture your windows is based on, just install that version of the Theme Resource Changer (TRC now on)https://www.facebook.com/photo.php?fbid=353252344817602&set=a.353252304817606.1073741837.100003985195807&type=1&theater¬if_t=like
and Aditya Nayak's
https://www.facebook.com/photo.php?fbid=563789170378761&set=a.133419096749106.29984.100002430504270&type=1&theater¬if_t=like
generated quite some liking, I've decided to teach everyone how they can customize their desktop using rainmeter. But first, there's a little tweaking you'll have to do. It can be done manually which is quite tough, so just do it using the 'Theme Resource Changer'.
Download Theme Resource Changer from here:
OR
Open the rar archive you just downloaded. It has two files in it. Be careful which one you choose.
1. themeresourcechangerX64-v10.exe
2. themeresourceX86-v10.exe
Now, before you just open any one of these without thinking, be sure what you're doing. The X64 and X86 represent your windows architecture so be careful as to what your windows version is. If you aren't sure, do this,

When you open TRC, it'll show a screen like this:

Only the difference will be in the right side. The 'Patch' will be available for you, so just patch all three files and then restart your computer.


No comments:
Post a Comment